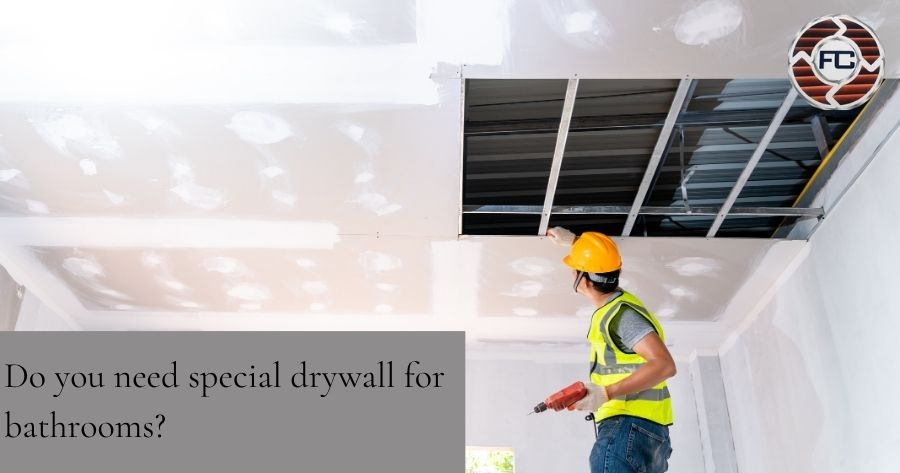
One of the most important parts of a sturdy bathroom wall is drywall. Drywall is also called gypsum board or wallboard. In a bathroom, you need drywall that can resist water and moisture. This helps keep mold and mildew away. In this blog post, we will walk you through the steps to install drywall in a bathroom. We will use simple words and short sentences so that everyone can follow along. By the end, you will know how to give your bathroom walls a strong, smooth finish that will last for years.
Drywall in a bathroom must be different from drywall in other rooms. Bathrooms have water and steam. This can make plain drywall soggy. It can also lead to mold. Mold can make the air unhealthy. It can ruin your walls. It also has a core that fights mold. At Full Circle Interiors, we only use moisture-resistant drywall in bathrooms. We make sure the walls will not warp or grow mold over time. This keeps your home safe and healthy.
Steps to Prepare the Bathroom
Pull the old drywall off carefully. If it is glued on, you might need a pry bar to help lift it. Wear gloves and a mask to keep safe from dust. After the drywall comes down, look at the studs. Check them for signs of rot or mold. If you see any soft or dark spots, replace that stud with a new piece of wood. Then, make sure all the studs are straight and even. Use a level to check. If a stud sticks out, cut it down or shim the ones beside it so they line up. Clean the space. Sweep off debris and wipe away dust. You want a clean surface before putting up new drywall.

Choosing and Measuring the Drywall
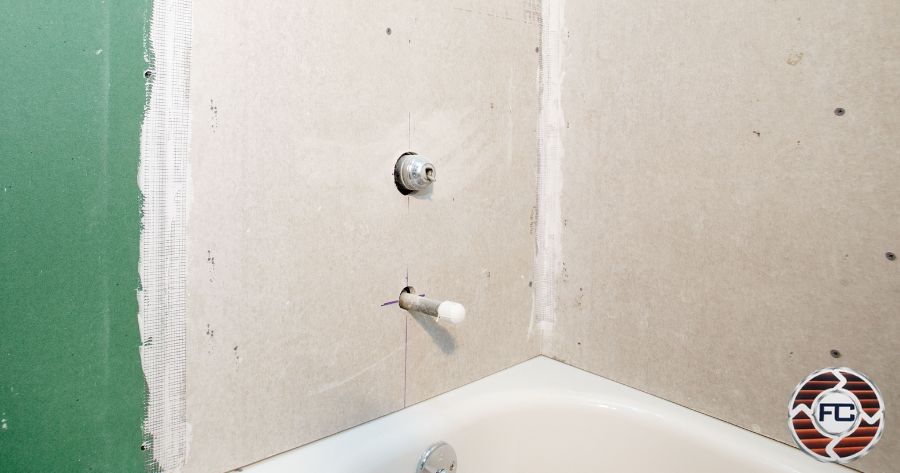
At Full Circle Interiors, we always choose the right type of drywall for a bathroom. The special board is often green on the outside. Some brands call it green board. It is made to handle steam and dampness. This board does not stop water completely, but it does slow water down. That is enough for most bathrooms. If you have a shower that will not be fully sealed with tile or pan, you might use cement board instead. Cement board is even more water resistant than green board. It is heavier though. For most places around a sink or toilet, green board works well.
Cutting and Installing the Drywall
Once you have the sheets, you will need to cut them to fit. Use a utility knife and a straightedge. Score the paper side of the board along your cut line. Then snap the board along the line. Fold the board away from you so the back paper tears. Cut the paper on the back side to free the piece. Always wear gloves to protect your hands. Make sure your cuts are straight. If you need to cut around a pipe or outlet box, trace the hole onto the board first. Use a drywall saw to cut out the shape. It is best to cut a bit smaller than the traced line so you can fit the board into place. You can make small adjustments as you push the board on.
Start at one corner. Push a screw through the drywall into the stud until the screw head is just below the paper surface. Do not break the paper. Space the screws every twelve inches along each stud. If you are using nails, drive them in the same way. Use a hammer and nail set to make sure the nail head is just below the paper. Continue putting screws or nails in until the board is held firmly. Work across the board, making sure it stays flat. If part of the board bows out, pull it off and check that the stud is not warped. Fix any problem before screwing it in.
Taping and Mudding the Seams
Once the tape is on, let the mud dry. This can take up to a day, depending on the humidity. After it dries, you can apply a second coat. Use a wider joint knife to spread compound over the tape. The layer should be wider than the first, to help blend the seam into the rest of the wall. Feather the edges by holding the knife at a slight angle. This will make the transition smooth. Let this coat dry, then apply a third, even wider coat if needed. Each coat should be thinner than the last. The final coat should barely cover the tape. Let everything dry before you touch it.
Finishing the Screw and Nail Heads
Screw and nail heads need to be covered too. Use the same compound that you used on the seams. Put a small amount of mud over each screw head with a narrow joint knife. Press the mud into the tiny hole around the screw. Smooth it out so it is level with the wall. Work on one section at a time. After the first coat dries, use a wider knife to put on a second coat. This will help blend the spot into the wall. Let it dry. You may need a third coat to hide the spot completely. Each time, smooth the edges gently. The goal is to make the spots disappear into the wall so you cannot see where the screws or nails were.
Sanding and Making the Surface Smooth
When all the mud is dry, the wall will feel rough. To make it smooth, you need to sand the wall. Use a sanding block or a pole sander. Choose a fine-grit sandpaper. Lightly sand each seam and screw head area until it is smooth. Do not press too hard or you might dig into the mud and expose the tape. Move the sander in a circular motion. Check your work by running your hand over the wall. You should feel no bumps or ridges.
Most walls do better with two coats. The second coat will cover any spots you missed. Let the paint dry fully before you use the bathroom.
Handling Corners and Curves
Bathrooms often have corners near the shower or tub. Inside corners need metal or plastic corner beads. Corner beads protect the edge from bumps. To install a corner bead, cut it to the right length. Press it into the corner over the tape. Apply a thin layer of joint compound over it. Hold the bead in place as you spread mud over it. Use a corner knife so the edges are smooth. Let it dry. Then sand it gently. Cover the bead again with a second coat of mud. Let it dry and sand one more time. The corner should look straight and smooth. After that, you can prime and paint it like the rest of the wall.
If you have curved walls, you need flexible drywall. This type of drywall bends around curves. It is thinner than normal drywall. To install it, you score the back side with a utility knife. Do not cut all the way through. Then gently bend the board around the curve. Screw it to the studs while holding it tight. The process of taping, mudding, and sanding is the same as with flat walls. It takes extra patience, but the result looks nice.
Conclusion
Installing drywall in a bathroom takes some care and the right materials. You must use moisture-resistant drywall for most of the walls and cement board in wet areas. At Full Circle Interiors, we follow each step with care. We measure and cut the board to fit just right. We fasten the board to straight, solid studs. We tape and mud the seams with smooth, even layers. We sand the wall until it is flat and smooth. We prime and paint with bathroom-grade products. The final result is a strong, clean wall that resists mold and mildew. If you follow these steps, you can give your bathroom walls a professional finish.