Home renovations are exciting, but they can also come with unexpected twists especially when it’s your first time tackling a drywall project. When I decided to remodel a spare bedroom into a functional office, I assumed drywall installation would be one of the simpler steps. After all, how difficult could putting up some walls really be? As it turns out, drywall installation is both an art and a science, and my first experience taught me far more than I expected. From understanding the right drywall tools and materials to avoiding costly beginner mistakes, I gained valuable insight I wish I had before starting.
Choosing to DIY or Hire Professionals
I decided to do parts of the renovation myself and hire professionals for the more technical aspects. Drywall installation was one of the tasks I chose to leave to the pros. As a first-timer, I lacked the confidence and know-how to do it correctly on my own. Despite watching plenty of tutorials online, the hands-on reality was something else entirely. Measuring, cutting, hanging, and finishing drywall all require a level of precision that isn’t always clear until you’re in the thick of it. One small mistake in alignment or taping can impact the entire look of a room.
Why Hiring Drywall Contractors Was the Right Call
Hiring drywall contractors turned out to be one of the smartest decisions I made. Before choosing a team, I interviewed a few companies and quickly saw that pricing, professionalism, and experience varied widely. Getting multiple quotes gave me a sense of the market rate, and asking about each team’s background helped me find one with over ten years of experience in residential drywall. I also made sure to read reviews and ask for references, which gave me extra confidence in my choice. If you’re hiring professionals, I strongly recommend discussing their installation process, cleanup policy, and expected timeline in detail—clear communication can prevent surprises later.
Helpful Drywall Installation Tips I Learned
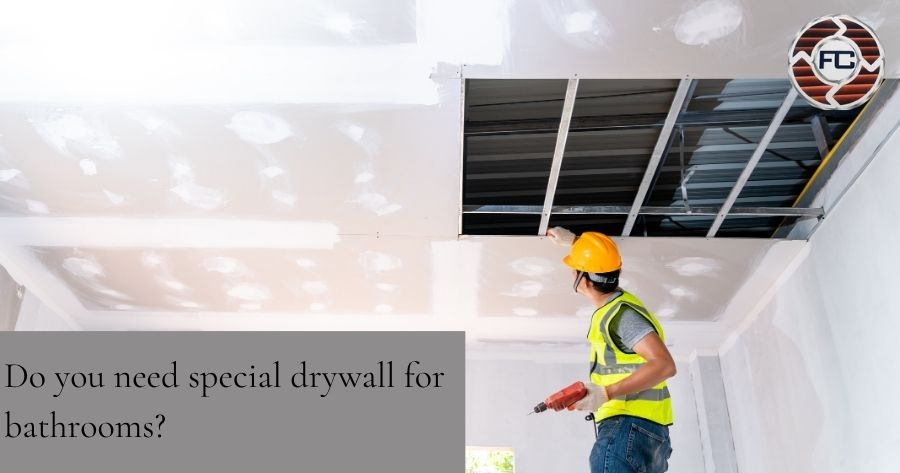
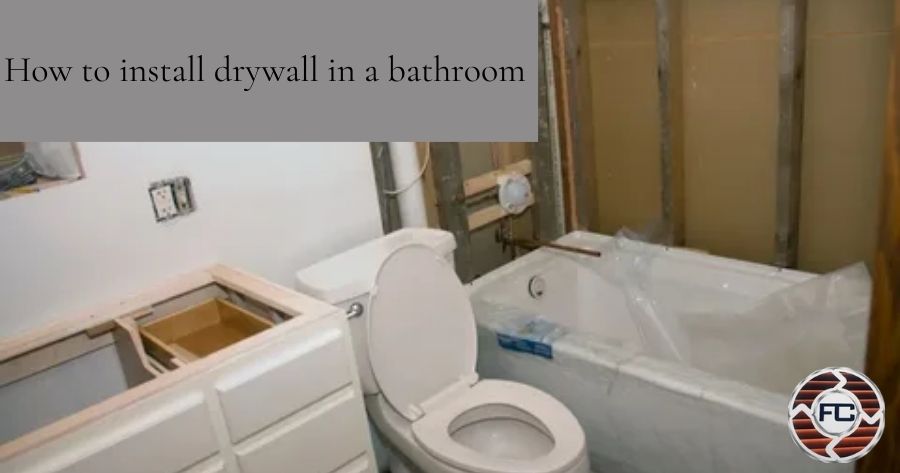
Watching the crew at work was surprisingly educational. They were efficient, methodical, and clearly experienced. From them, I picked up some useful drywall installation tips that any beginner should know. First, always use the right drywall type for the room moisture-resistant boards are a must for areas like basements or bathrooms. Second, avoid placing seams near door or window corners, as this can lead to cracks over time. Third, screws are more stable than nails for securing panels. Fourth, hanging panels horizontally in most rooms helps reduce the number of joints. Lastly, never skip coats of joint compound; each layer contributes to a flawless finish.
Beginner Mistakes I Made Trying It Myself
Although I had professionals install the main drywall, I attempted to patch a small section myself. This led to a few beginner mistakes that I hope others can avoid. I over-sanded one area, which exposed the paper underneath the compound. I also didn’t feather out the joint compound properly, which left visible ridges once painted. Lastly, I used the wrong consistency of mud one batch dried too quickly and another cracked when sanded.
Learning the Drywall Finishing Process
Before this project, I thought drywall installation ended after hanging the boards. I was wrong. The finishing phase is where most of the work and artistry really happens. It typically includes taping, mudding, sanding, and repeating those steps two or three times to create a seamless surface. I learned that rushing through this stage leads to imperfections like cracking or uneven surfaces. Watching how careful the pros were during this stage gave me a real appreciation for their craftsmanship.
The Difference Between Drywall Repair and Installation
Interestingly, I also needed to repair a small damaged area near a window. That’s when I discovered the surprising contrast between drywall repair and full installation. While installation covers large areas, repairs demand a different kind of finesse especially if you’re trying to match existing textures or paint. In some ways, it’s even trickier, and it definitely gave me more respect for professional repair work.
The crew shared some tips that I’ll never forget. Let each coat of joint compound dry fully before sanding or applying another impatience causes cracks. If you’re going the DIY route, invest in a vacuum sander to reduce dust. Always prime the surface before painting to help the paint adhere and last. And use corner beads for cleaner, stronger corners. These nuggets of professional advice made a huge difference in understanding the process.
Set Realistic Drywall Timeline Expectations
One of the biggest surprises was how long the drywall process actually takes. I thought it would be done in a day or two, but it spanned several days due to drying times and multiple finishing stages. Here’s a rough breakdown I learned: Day 1 is typically for hanging the drywall, Days 2 to 4 involve taping, mudding, and letting it dry, and Day 5 is for sanding and final touch-ups. It’s crucial to leave some wiggle room in your renovation timeline, especially if you’re coordinating with painters or other contractors.
Essential Drywall Tools and Materials I Observed
Curious about the tools and materials used, I took note of everything the crew had on hand. Their gear included a drywall lift for ceiling panels, a T-square and utility knife for precise cuts, a drywall screw gun for fast installation, joint tape, mud pans, and a pole sander. They also selected drywall types based on room needs moisture-resistant for bathrooms, standard boards for main walls, and thicker sheets for ceilings. Seeing this helped me understand how much thought goes into each decision.
What This Project Taught Me About Home Renovation
Beyond just drywall, this project gave me broader lessons about home renovations. First, respect the trade it’s often more complex than it looks. Second, budget for quality work instead of cutting corners. Third, communicate clearly with your contractors to avoid misunderstandings. And finally, take your time. Rushing rarely leads to great results. There were plenty of surprises along the way, but being informed and prepared made the experience smoother and more satisfying.
Conclusion
My first experience with drywall installation services taught me more than I ever expected. It helped me recognize the value of skilled professionals, the importance of careful planning, and the hidden complexities behind what seems like a basic task. Whether you’re patching a wall or redoing an entire room, drywall is a critical part of your home’s structure and appearance—so give it the attention and respect it deserves.