At Full Circle Interiors we want to help you learn how to install drywall. Drywall is a strong wall panel. It covers the studs in a room. It makes a smooth surface. This lets you paint or add wall coverings. We will explain each step. We will use simple words. We will use short sentences. You can follow along without trouble. By the end you will know how to install drywall right.
Drywall is also called gypsum board or sheetrock. It is light in weight. It is easy to cut. It is easy to hang. It is also fire resistant. When you finish it, the wall can look very nice. With the right tools you can do the job well. At Full Circle Interiors we believe in quality work. We also believe in safety. We will guide you through each step in an easy way. Let us begin.
Gathering Materials and Tools
First, you need to gather your materials and tools. You need drywall panels. Drywall panels come in sheets. The common size is four feet by eight feet. You can get larger sheets too. Choose the size that fits your wall best. You also need screws to hold the drywall. Screws keep the panels tight to the studs.
Next, you need tools. You need a tape measure to find how long to cut the panels. You need a utility knife to cut the drywall. You need a T square to guide your cuts. You need a drill with a drywall bit to drive the screws. You need a stud finder to find the wall studs behind the old wall. You also need joint tape to cover the seams between panels. You need joint compound to fill the seams and screw holes. You need a taping knife to spread the compound. You also need a sanding block to smooth the dried compound. Finally, you may need a ladder if your ceiling is high.
Preparing the Wall
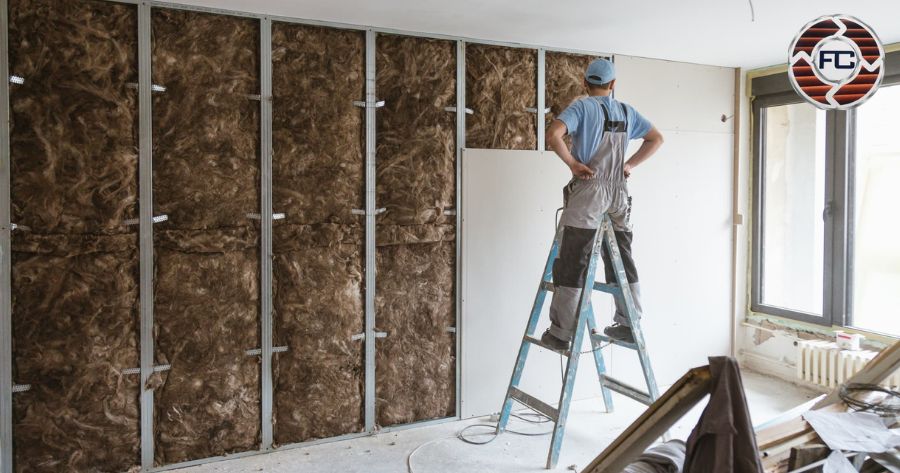
Before you install drywall, you must prepare the wall. The wall should be framed with studs. Studs are the wooden or metal beams behind the old wall or open space. If the studs are not in place, you must install them first. The studs need to be spaced sixteen inches apart on center. This is a common spacing. It supports the drywall well. Check that the studs are straight. Use a level to make sure they stand plumb. If they are not straight, the drywall will be wavy. Correct any crooked studs before you hang the panels.
Next, remove any old wall covering. Old plaster, lath, or paneling must come off. Use a hammer and pry bar if needed. Wear safety goggles and gloves. Dust will fly. Cover the floor and furniture with drop cloths. Keep the work area clean. Remove any loose nails or screws from the studs. Make sure no wires or pipes hang out. If you find any wires or pipes, work around them or call a professional. You must avoid hitting a pipe or wire when you drive screws. Once the studs are bare and clean, you can start measuring.
Measuring and Cutting Drywall
Once the wall is ready, it is time to cut the drywall. Lay a panel on a pair of sawhorses or a clean floor. Use the tape measure to mark the height needed. For example, if your wall is eight feet high, mark eight feet on the drywall. Use a pencil for light marks. Place the T square along your line. The long straight edge of the T square will guide your knife. Hold firm pressure. Score the face paper of the drywall with a sharp utility knife. Do not press too hard. You need to cut only the front paper and a shallow layer of gypsum.
After you score the line, bend the panel away from you. The gypsum will snap at the score. You will hear a cracking sound. Then turn the panel over. Cut the back paper along the broken gypsum. Pull the back paper and strip it away. Now you have a cut piece. Smooth any rough edges with the knife. Make sure the cut is straight and fits the wall space. If you need to cut around a pipe or electrical box, measure the distance from the edge of the panel. Transfer that measurement and mark the panel. Use the knife to cut the shape out. You may need to cut a small piece at a time. Take care to keep the cut neat.
Hanging the Drywall
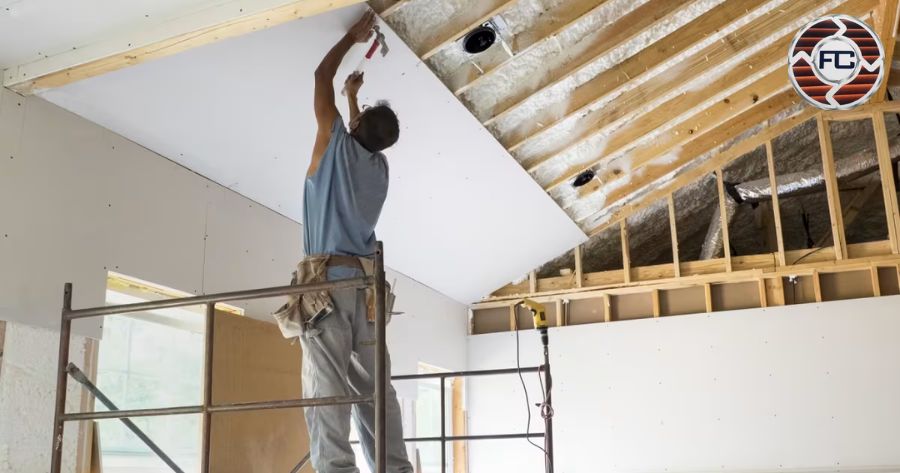
Now you can hang the drywall panels on the studs. Start at a corner or at the top of a wall. If you hang the ceiling first, you will have fewer seams to patch later. Use a helper or a drywall lift if available. Place the panel so that its end rests tight against an adjacent wall or another panel. Make sure the panel touches the floor or ceiling snugly. Leave only a small gap, about one eighth of an inch, at the floor or ceiling. This gap keeps the drywall from touching the floor directly. It also helps prevent moisture from wicking up into the drywall.
For ceiling panels, lift them above your head. Use a drywall lift or get help. The ceiling seams should land on the framing. Use thicker drywall for the ceiling if the span between joists is large. Once the ceiling panels are in place, drive screws into each joist. Space the screws about eight inches apart. This keeps the ceiling strong. Continue until the ceiling is fully covered. Check for any loose areas by tapping lightly. A solid tap should not feel spongy. If it does, add a few more screws.
Taping and Applying Joint Compound
After all panels are hung, it is time to tape the seams and apply joint compound. Use paper or mesh tape. Start with the seams between panels. Apply tape along the seam. Press the tape flat. Cover the tape with a thin layer of joint compound. Use a taping knife to spread the compound. Move the knife in one smooth motion along the seam. Remove any excess compound. The layer should be thin. Let it dry. It may take a day.
Apply a second coat of joint compound. This coat should be wider. Spread it over the first coat. Feather the edges so it blends with the drywall. This hides the seam. Let it dry again. You may need a third coat. The third coat is even wider. It fills any low spots. Check the seam under good light. Look for shadows. Those show dips. Fill dips with more compound. Let it dry.
Sanding and Finishing
When all the compound is dry, it is time to sand. Use a fine grit sanding block. Sand each seam lightly. Sand the screw heads as well. Move the block in small circles. Do not press hard. You want to smooth the surface. Check for scratches. If you see a scratch, fill it with a tiny amount of compound. Let it dry, then sand again.
Wear a dust mask and goggles. Drywall dust is fine and can harm your lungs and eyes. Cover the floor with a drop cloth. You can use a vacuum sander to collect dust. Or use a hand-held vacuum to clean as you go. After sanding, wipe the wall with a damp cloth. This removes any dust. The wall should feel smooth and clean.
Painting and Final Touches
After priming, you can paint the wall. Choose paint that matches your room design. Use a roller for large areas. Use a brush for edges and corners. Start at the top. Roll paint in a W shape. Fill in the gaps without lifting the roller. Work in small sections. Keep a wet edge to avoid lap marks. Allow the first coat to dry. Check the coverage. If you see light spots, add a second coat. Let each coat dry fully before adding the next.
Conclusion
Installing drywall can seem hard at first. But with the right steps it becomes clear. You start by gathering materials. You prepare the wall. You cut and hang the panels. You tape, mud, and sand. Finally, you paint and add trim. Each step builds a strong, smooth wall. At Full Circle Interiors we believe that clear steps and quality work make a big difference. You now have a guide you can follow. Take your time. Work safely. Wear goggles and a mask. Check your work at each step. A good job now means a beautiful room later.
Drywall can hide wires and pipes. It can make your space look new. It can last for years. With practice, you will hang panels faster. Your seams will be smoother. Your paint will look brighter. If you follow these steps, you will have a professional result. Now you can start your drywall project with confidence. Good luck from Full Circle Interiors.